Showing posts with label Illustrator Tips. Show all posts

Interview with Illustrator Kristy Anne Ligones

Kristy is a Filipino Illustrator who is currently residing in Dubai. She’s been joining art exhibitions in the Philippines, and other parts of the world, and also invited to group art exhibitions by local galleries and events ever since she started working in Dubai. She’s mostly known for her digital artworks but she also does traditional art from time to time. Her artworks are primarily categorize as Pop Surrealism,  inspired by Urban, Graffiti and Low-Brow art. Learn more about Kristy as we go along with her in this interview.

How did you get into illustration?

I’ve already started drawing at a very young age, and from that, it eventually become my passion, and have been developing my skills and style ever since. As I grew older and exploring new things in the internet, I’ve became fond of illustration, wasn’t really sure I ended up to be an illustrator, I was exposed to various fields in art, from painting to graphic design, but I guess the interest to draw and interpret things visually got me more hooked up with it, and it’s more interesting rather than just designing or doing layout for a print ad, though I can still use illustration in designing as well, so that’s what made it more interesting than the rest.
1

Have you met other illustrators in person? If so, who are they?

Yup, I’ve met a lot of illustrators, here in Dubai and back home in the Philippines, where there’s a small community in each city, where we can all gather around during events and talk about our works and other interest. But the most memorable one was Hydro74, I met him when we were both speakers for this event here in Dubai, I’m a fan, and I was also happy to know he also admired my works, he was always joking around, it’s really fun to meet fellow illustrators, because we all have a lot of things in common, specially encounters with clients from hell, and colleagues from work who thinks you’re a freak’n magician, that you can do almost everything, which is pretty common to us artists. It’s really good to talk about this stuff, thinking you’re not alone on this.
2

Who are some of your favorite illustrators and why?

I like the likes of Tara Mcpherson, Audrey Kawasaki, Lauren YS, Caitlin Hackett, Alex Pardee, James Jean and more, there’s just a lot of amazing illustrators out there, I kept on following them on instagram, but mostly I like the ones with very weird and personal subjects, and I have the hearts for the ones that play around details, and the ones with very unique style that you could just tell immediately that they did that one, like Tara McPherson for example.
3

Do you think an illustrator needs a style? If so, can you tell us why?

I think so, though if you’re working in a corporate world just like me, it’s important to vary in different style, because you need to somehow follow on what your creative director wants to see visually, but as my own self, as an illustrator outside my day job, I have to come up or maintain a style, to be able to make people tell that it’s mine, without knowing yet that I did that artwork, it’s important to have that sort of branding to yourself, because if you’re just making random style, or copying a trend style, then you’re just like everybody else, though sometimes trend styles can be your own, by innovating them, trying to be more you.
4

When do images become better than words?

When they’ve become well interpreted visually, that people will get it right away.
5

How did you get your first illustration job?

I got my first illustration job, while I was doing full time freelance for a while, a friend of mine asked me if I was interested on doing some e-book illustrations for this small company in Hawaii, that makes e-books for Japanese children, to help them learn the English language, it was a small gig, but it was fun.
6

As an illustrator, what is something new you have noticed or learned recently?

I’ve been trying to learn impromptu drawing, without using pencil, just completing things up through random thoughts, I’ve been developing this doodle illustration recently, and it’s pretty challenging to form something out of nothing, without rough sketch, just pen and ink immediately and complete a whole blank space with it, the only pencil guide are the figure or faces formation that I was aiming for, but the rest are just completely random doodle, just to fill in the blanks.
7

Who inspires you to become an illustrator?

I should say family, but they don’t only inspire me to be an illustrator alone, they inspire me to work hard, and become somebody that they’ll be proud of, not only professionally, but as a whole person.
8

More about Kristy Anne Ligones

Kristy is also interested in customizing DIY vinyl toys and other stuff that boosts out her expertise on customization. You can find more of her works on her Behance profile and website.
photoshoptutorials.ws

Quick Seamless Valentine’s Tiles

valentine heart tiles

Valentine’s day is coming and in this tutorial, I will teach you a trick to create quick seamless heart tiles.  With this tip, you will be able to create seamless tiles in a matter of seconds. And the best of all, the effect is adjustable by changing the values in the Appearance Panel. So let’s see how to do it…

In this examples, I want to fill the background with hearts. So I draw my first heart at the top left. Next apply the Transform Effect by selecting Effect>Distort & Transform>Transform Effect and set Copies to 10. Next, move the Horizontal slider for Move until the tiles fill up to right edge and click Ok. Take note of the value which is 53pt.
valentine heart 1
Next, apply the same Transform Effect over your heart tile. Now enter -53pt for Vertical under Move. Set the copies to 8 in this case. You realise the heart tiles now fit nicely with my background.
valentine heart 2
The good thing of making tiles using Transform Effect is that you can adjust it at realtime to tweak your tile deign. Go to your Appearance Panel and you will be able to adjust it. Simple as that!

Illustrator Trick #2: Tilde Fun

illustrator tilde trick

Many beginners may not have heard of the “tilde” key trick. It’s the ~ key just beside the number 1 keypad. By holding the tilde key, you can drag to create new shapes following your mouse direction. You can only use it with other shape tools in your tool palette. Combine it with Alt/Option, Shift/Command and spacebar to create new effects. Have fun with the tilde key, below are some experiments I have done with it.
tilde experiment
vectordiary.com

Illustrator Tip #1: Dotted Lines in Illustrator

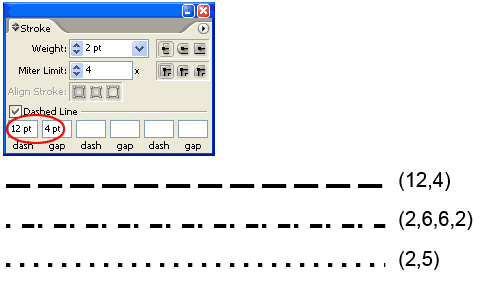
You can get interesting dotted lines with your Stroke Palette. Open up your Stroke Palette from Window>Stroke. Draw a line and select it. Enter the dash and gap value as shown. Experiment with different dash and gap values for different effects. To create a square dotted line, make sure the dash and weight is the same value.
illustrator stroke tip

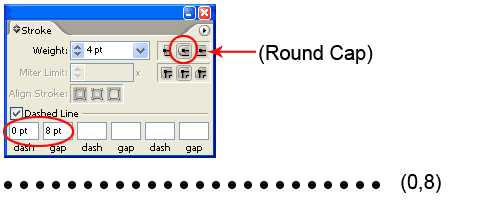
So how about circle dotted lines? Here’s the trick. Select the Round Cap and make sure dash is set to 0 pt. For gap enter a value twice the stroke weight. This will give you a nice circle dotted lines.
illustrator dotted line
Bonus Tip: To expand the dotted lines, you realise Object>Expand doesn’t work. Choose Object>Flatten Transparency to expand it. You can now fill each dots with different colors.
vectordiary.com

Basic Illustrator Tips for T-Shirt Designers

As a T-shirt designer working in illustrator, there are some basic tips and tricks to help you get started and possibly simplify otherwise tedious steps in the design process. When spending countless hours on an illustration, the efficiency from shortcuts will be very helpful. Use these basic keyboard shortcuts, and simplified illustrator functions to get those designs out of your minds and onto that T-shirt!

10 Need-To-Know Simple Keyboard Shortcuts

New File: Ctrl/Cmd + N
Open File: Ctrl/Cmd + O
Save File: Ctrl/Cmd + S
Print File: Ctrl/Cmd + P
Select All: Ctrl/Cmd + A
Copy: Ctrl/Cmd + C
Cut: Ctrl/Cmd + Z
Paste: Ctrl/Cmd + V
Undo: Ctrl/Cmd + Z
Redo: Shift + Ctrl/Cmd + Z


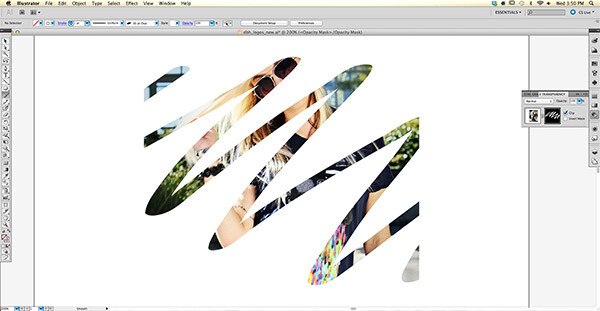
Create an Opacity Mask in 8 Simple Steps
  1. Open layers panel [F7]
  2. Create a new layer [Ctrl/Cmd + L]
  3. Place artwork onto the layer [File>Place]
  4. Select all of the content within the layer [Alt/Option + Click layer in layers panel]
  5. Open transparency palette [Shift + Ctrl/Cmd + F10]
  6. From the palette drop down menu, select ‘make opacity mask’
  7. Your artwork will ‘disappear’. Click the black square in the transparency palette.
  8. Return to your artboard and use white (paintbrush, shapes, gradients) selectively on your artwork will reveal it.


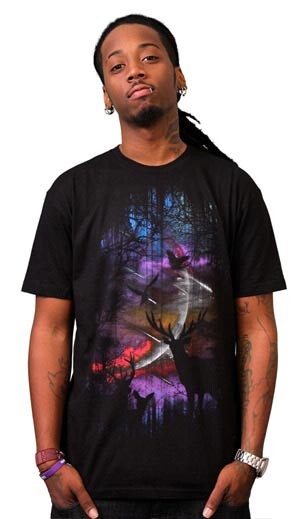
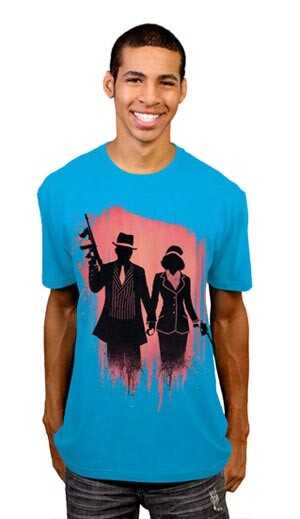
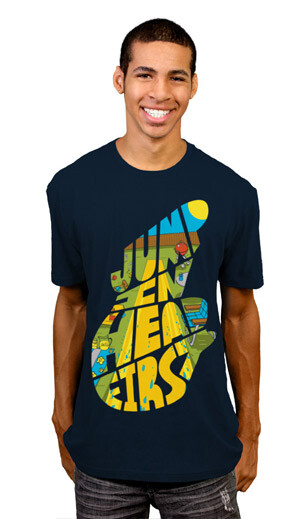
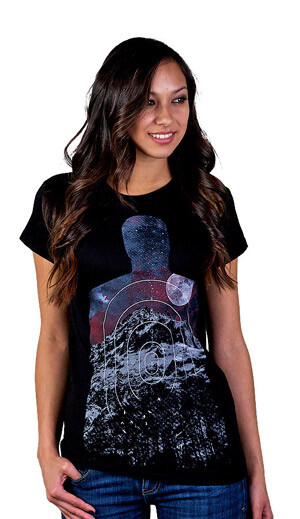
Use Opacity Masks to create T-shirt designs like these!


Live Trace an Image in 9 Simple Steps

  1. Open layers panel [F7]
  2. Create a new layer [Ctrl/Cmd + L]
  3. Place artwork onto the layer [File>Place]
  4. Select all of the content within the layer [Alt/Option + Click layer in layers panel]
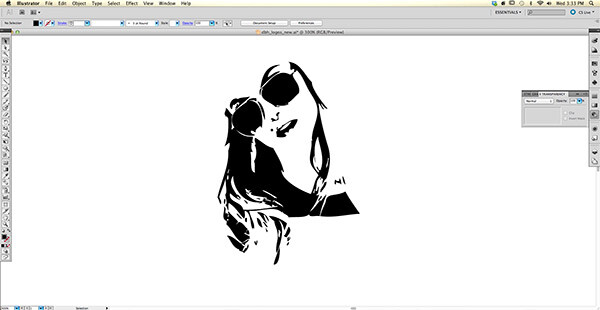
  5. Live Trace and Expand the artwork [Alt/Option + Live Trace]
  6. Ungroup your Vector image [Shift + Ctrl/Cmd + G]
  7. Open the Selection Tool [v]
  8. Select all unwanted areas and negative space [Shift + Click]
  9. Delete selected areas [Delete or Ctrl/Cmd + X]


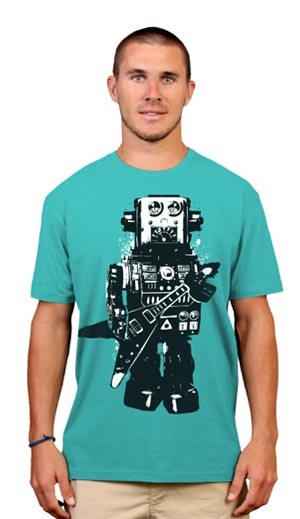
Use the Live Trace tool to create T-shirt designs like these!


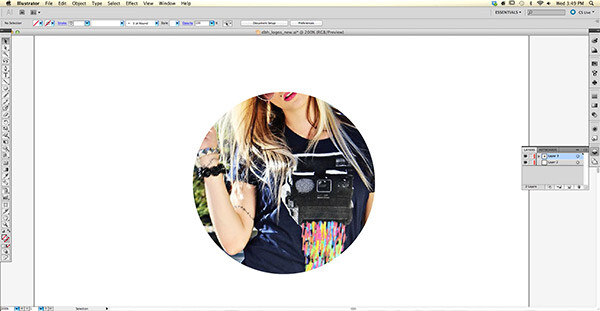
Create a Clipping Mask in 6 Simple Steps

  1. Open layers panel [F7]
  2. Create two new layers [Ctrl/Cmd + L] x2
  3. In the first layer, create a vector that your artwork will take the shape of. Ex: Circle shape [L]
  4. In the second layer, Place your artwork [File>Place]
  5. Using the selection tool [V], select both layers [Shift + Click]
  6. Create a clipping mask [ctrl/cmd + 8]


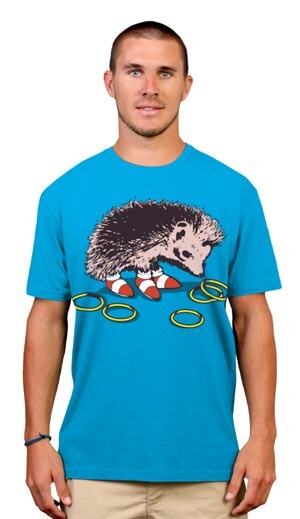
    1. Use Clipping Masks to create T-shirt designs like these!


      designbyhumans.com

NEWS